Zoho CRM Integration Explained
Introduction
Setting up a webhook in Zoho CRM involves three major steps: creating the webhook, connecting it to a workflow rule, and testing the integration.
Focus of this Guide This article will walk you through the first and most crucial step: how to create a new webhook.
⚙️ Steps to Create a New Webhook
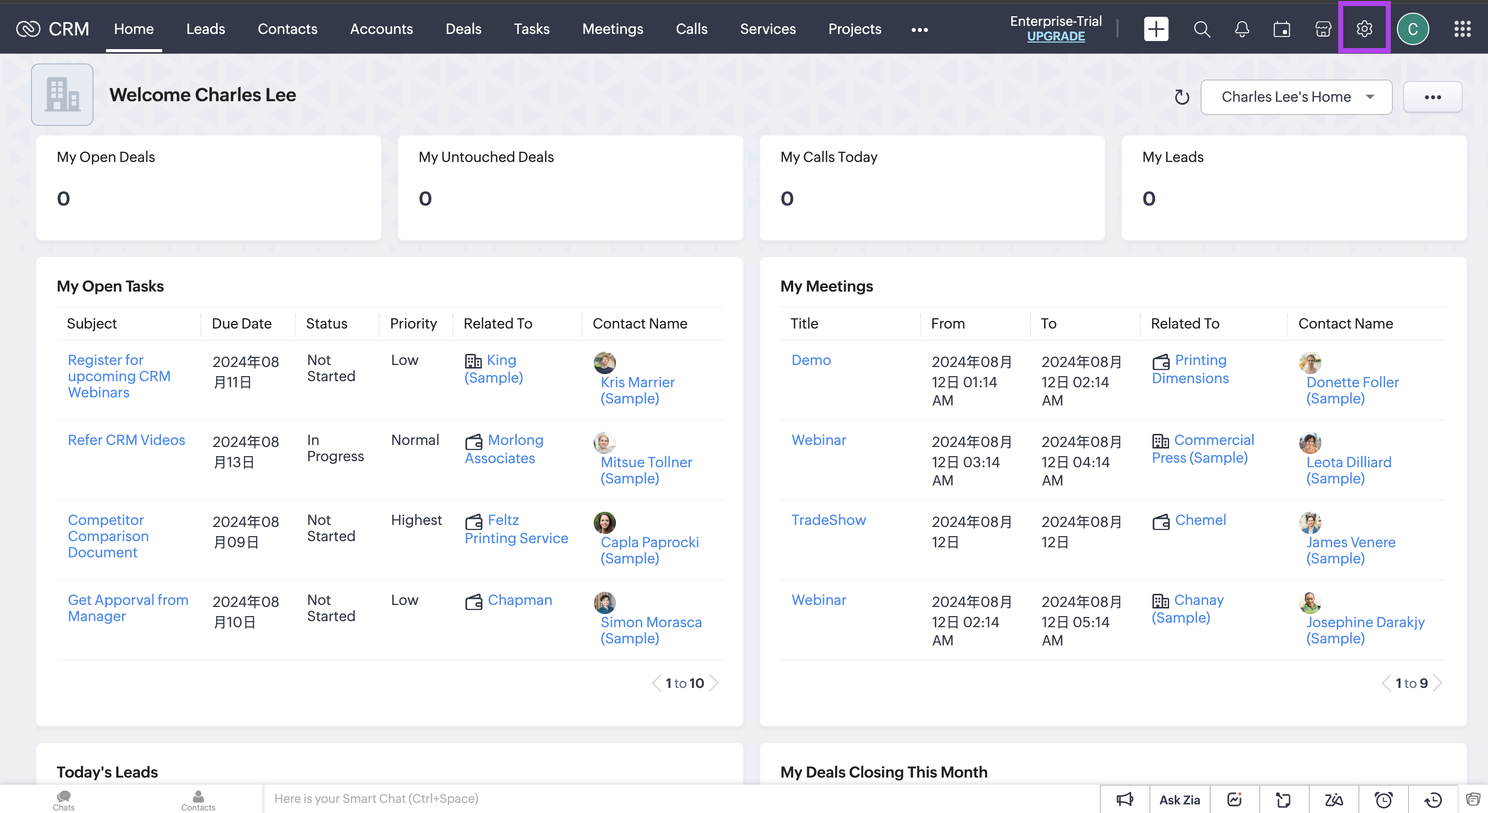
- From the Zoho CRM homepage, click the Gear icon (Settings) in the top left corner.
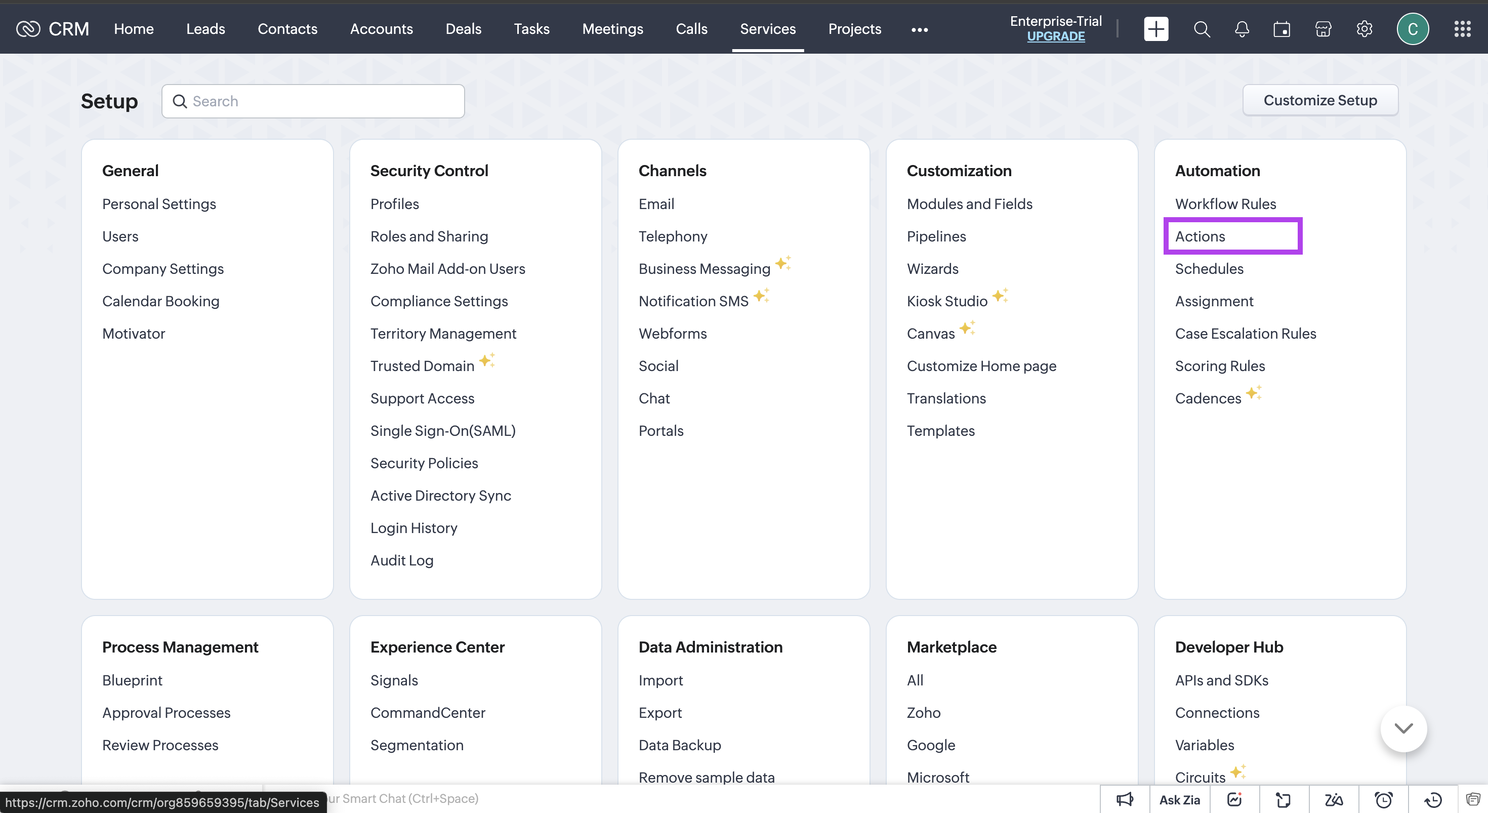
- Navigate to the Automation section and click Actions.
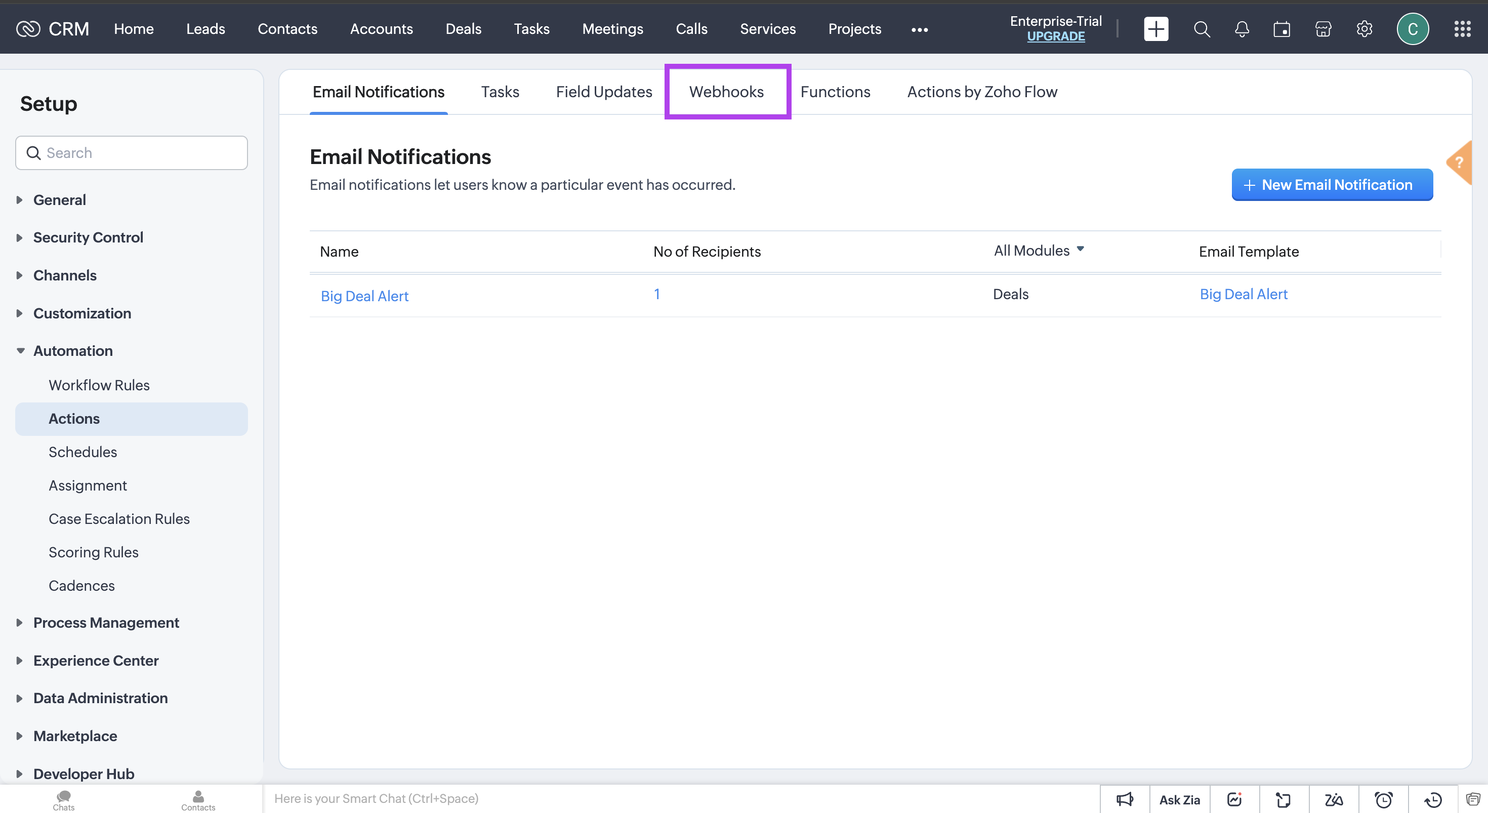
- Select Webhooks.
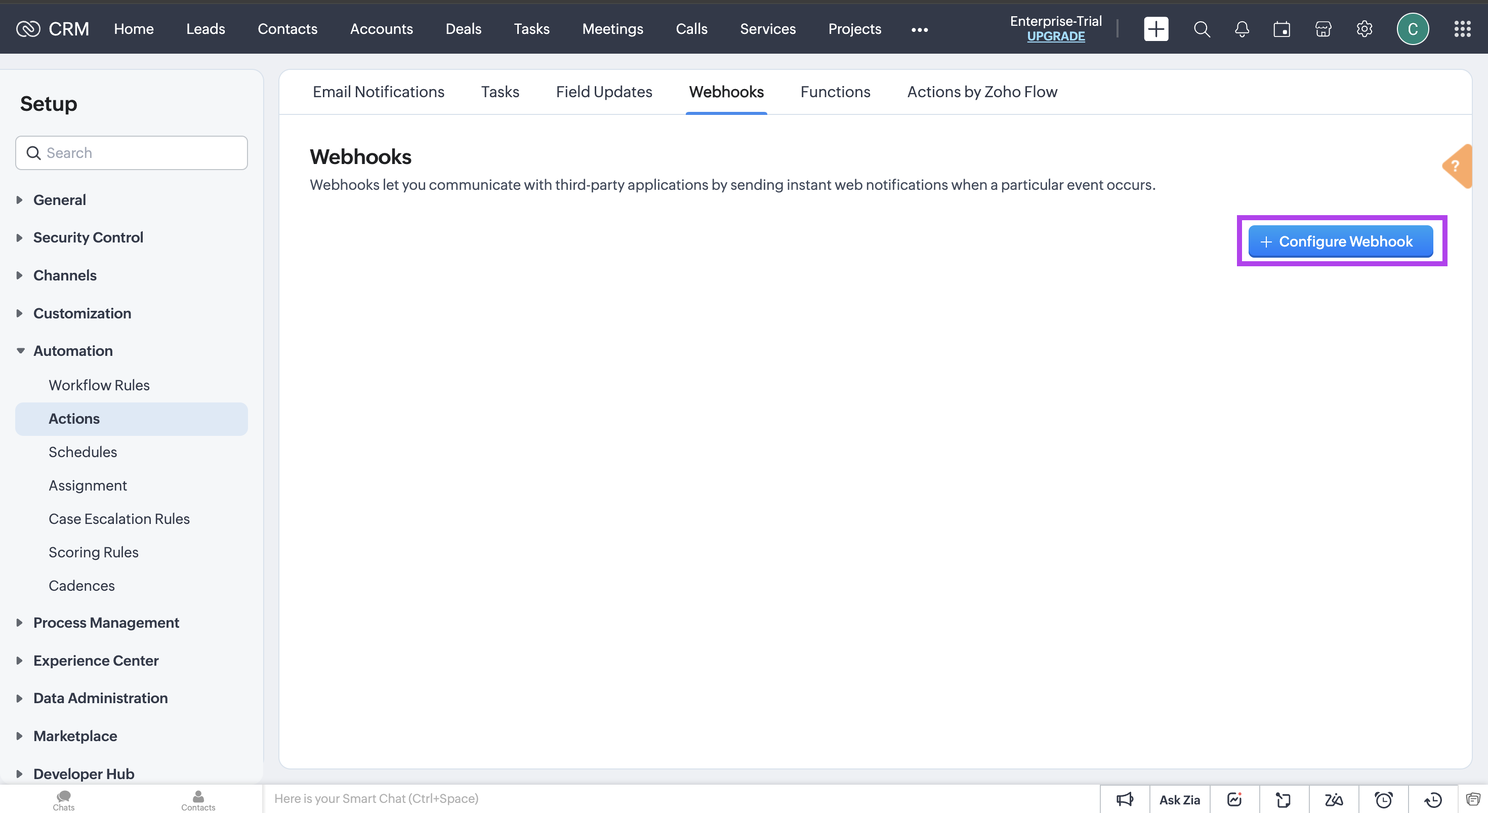
- Click Configure Webhook to open the creation form.
Configuring Your Webhook
You will see a form with several fields to fill in. Here’s what each one means:
- Name: A descriptive name for your webhook (e.g., “Send New Lead to Slack”).
- Description: A brief explanation of what the webhook does.
- Method: The HTTP method for the request. You can choose POST, GET, PUT, or DELETE.
- URL to Notify: The destination URL of your external system that will receive the data.
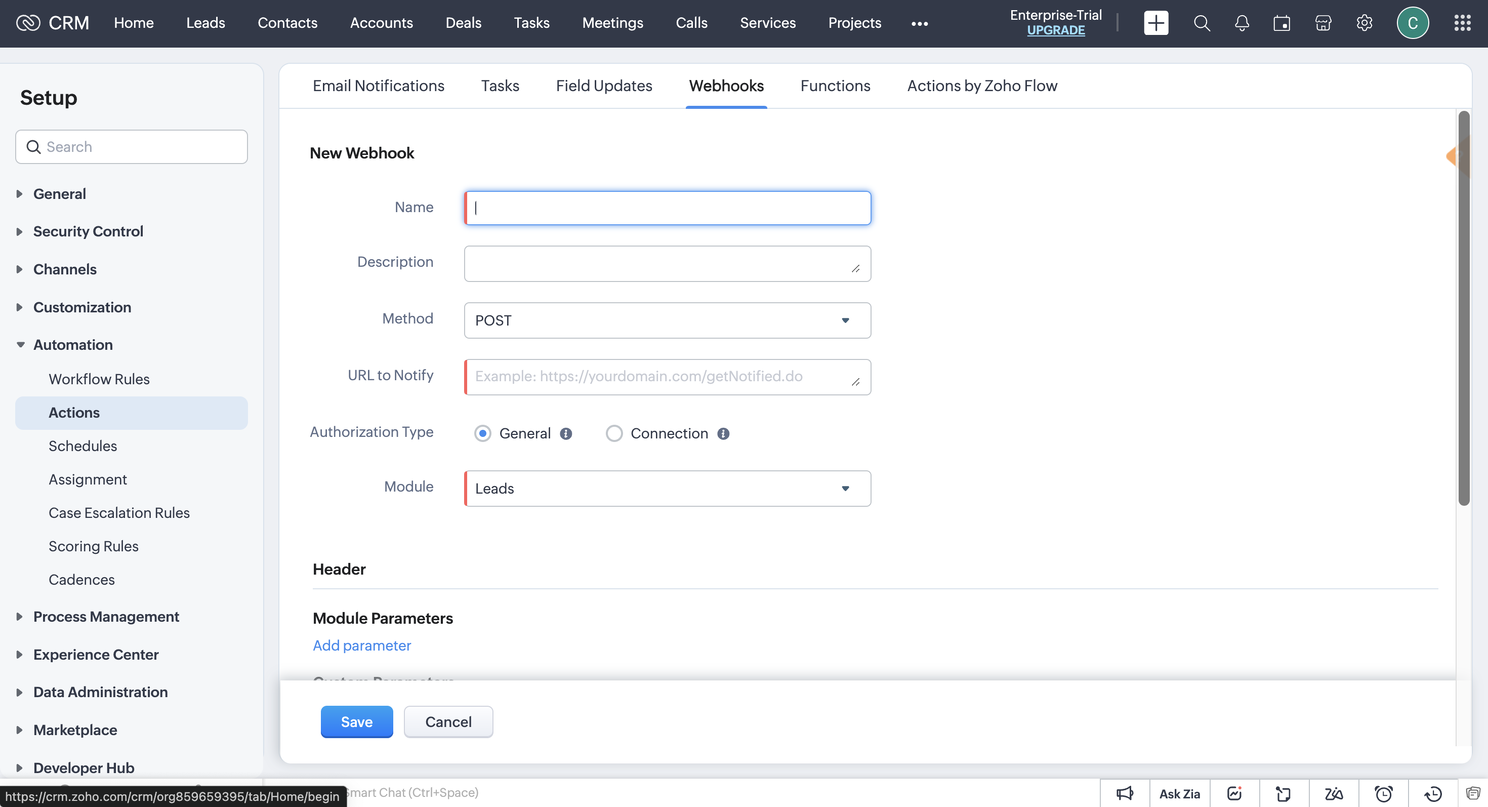
- Authorization type:
- General: Allows you to set up the webhook without a pre-configured connection. You can add basic authentication or an API key directly in the header.
- Connection: Uses a pre-authorized connection pathway you’ve already set up between Zoho CRM and another application.
- Module: Select the CRM module that this webhook will be associated with (e.g., Leads, Contacts, Deals).
Header
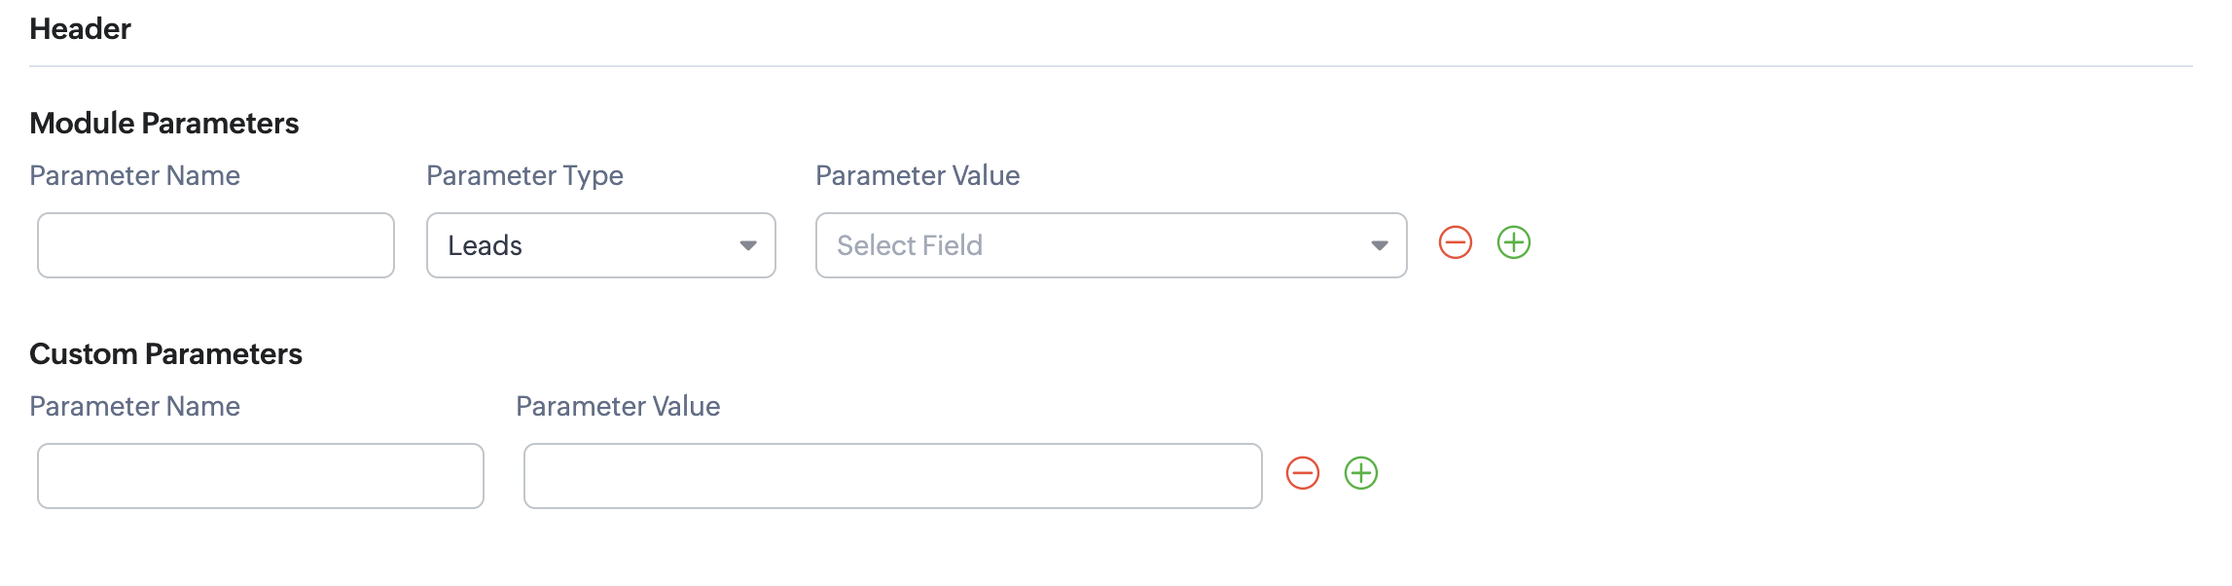
Zoho CRM provides flexible header configuration, allowing you to pass necessary information for authentication and identification.
- Module Parameters: Pass dynamic data from the selected module (e.g., Lead ID, Contact ID).
- Custom Parameters: Pass static data like security tokens or trigger IDs.
For each parameter, you will define the Parameter Name (the key), Parameter Type (where the value comes from), and the Parameter Value.
Body
Here you define the main content of your request.
- Type: You can select
none,form-data, orraw. Therawoption supports various formats like JSON, XML, and plain text.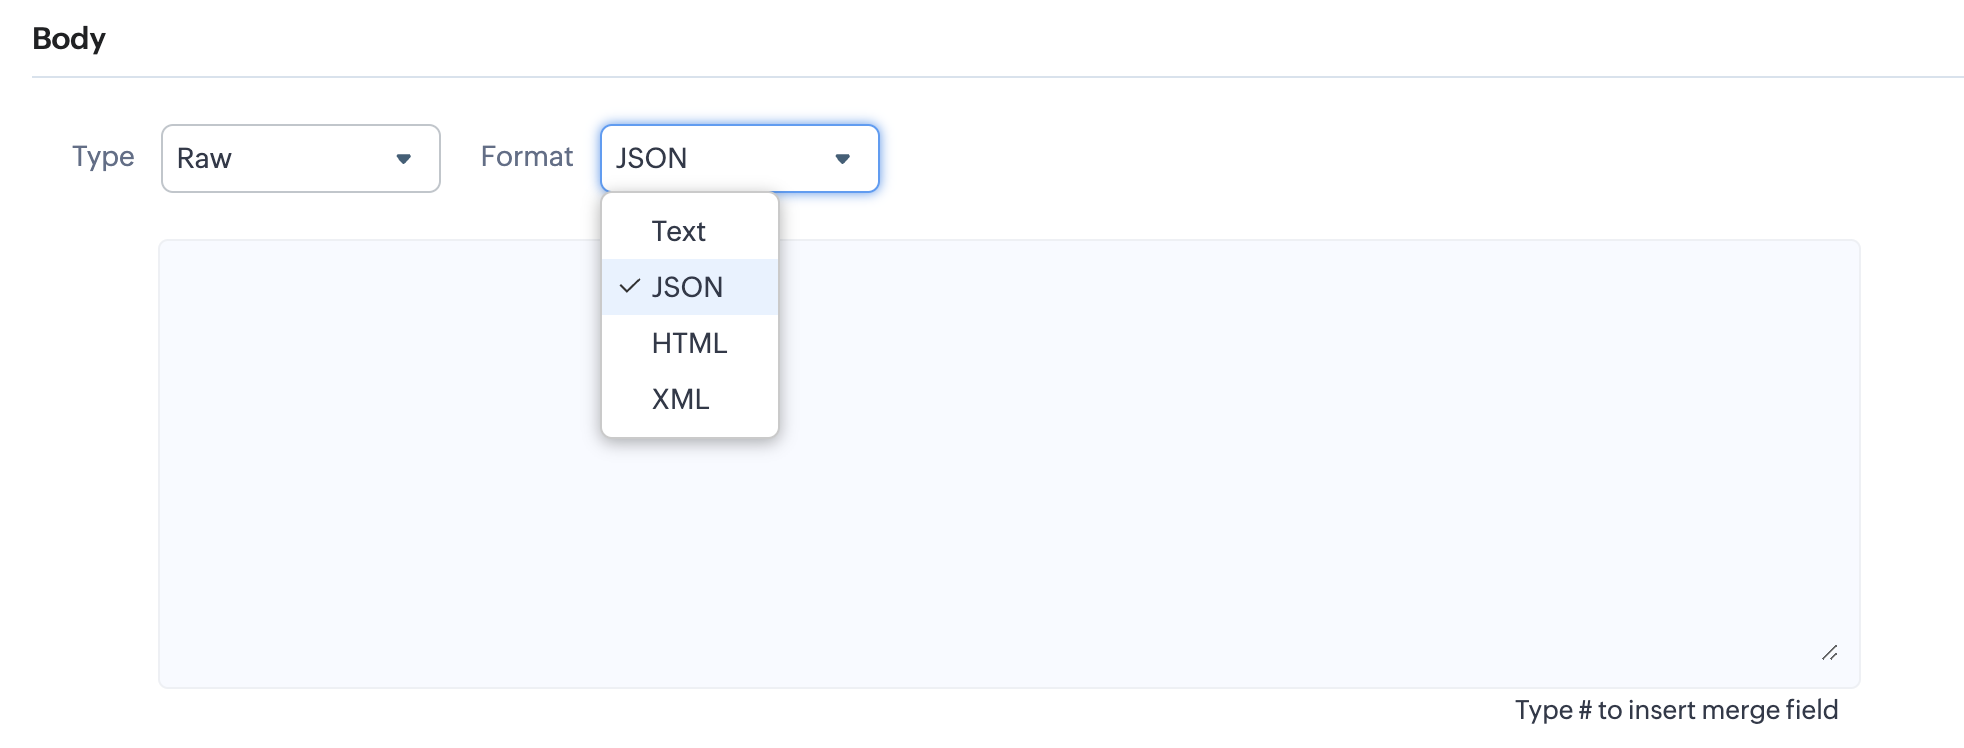
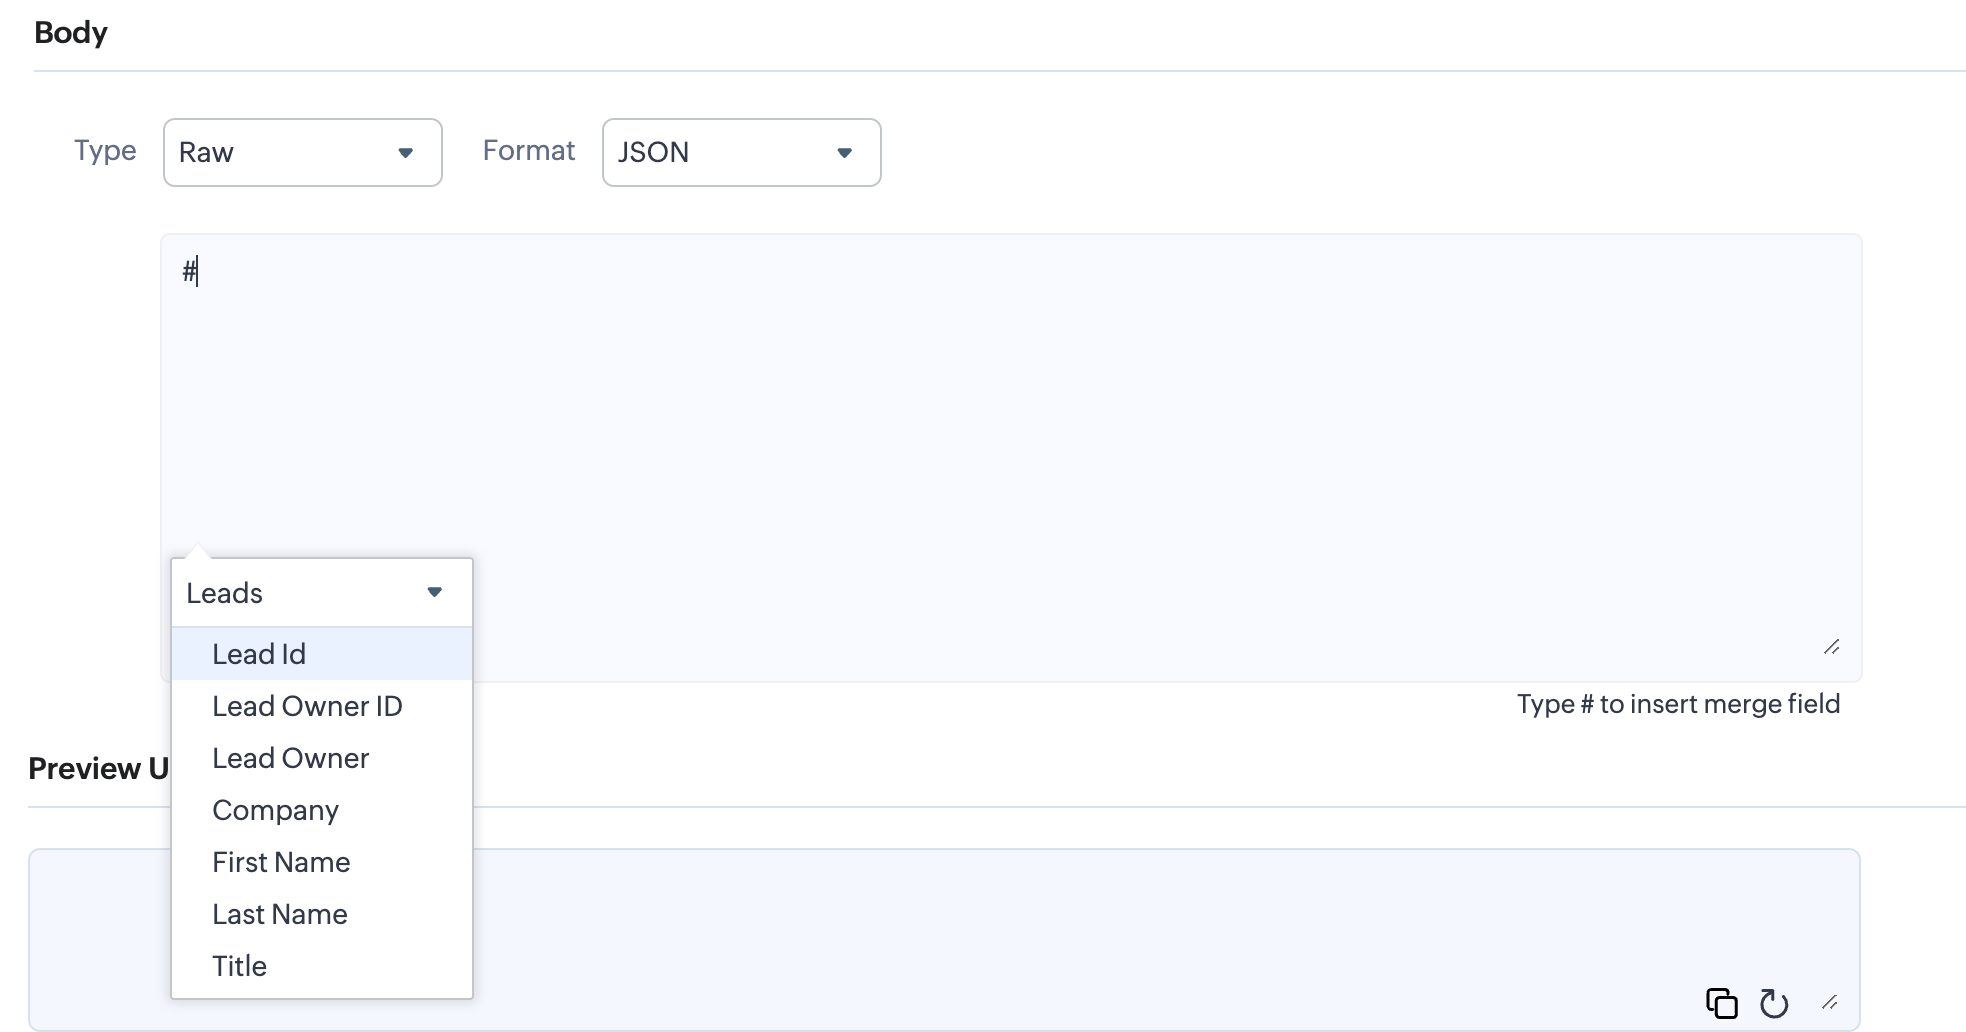
Tip: Inserting Dynamic Variables To add dynamic data (called “merge fields”) into the request body, simply type #. A dropdown list of available variables from your selected module will appear.
- Preview URL: For
GETandDELETErequests, this shows the complete URL with any configured parameters. ForPOSTandPUTrequests, it only displays the base URL.
Finally, click Save. Your new webhook is now created and ready to be attached to a workflow rule.