Hubspot Integration Explained
Using Webhooks in HubSpot Workflows
In HubSpot, you can use webhooks within workflows to send or retrieve information between your HubSpot account and external systems. This allows for powerful, real-time automation.
Popular use cases include:
- Posting HubSpot contact data to another CRM when a contact fills out a specific form.
- Sending deal data to an external shipping system to create a purchase order.
- Retrieving data from another system to update your HubSpot records.
This guide focuses on sending data from HubSpot to an external system.
Subscription Requirements To use webhooks in workflows, you must have one of the following subscriptions:
- Marketing Hub Professional or Enterprise
- Operations Hub Professional or Enterprise
I strongly suggest signing up for free trials of these products to test your integration thoroughly before committing.
⚙️ How to Send Data via Webhook in a Workflow
-
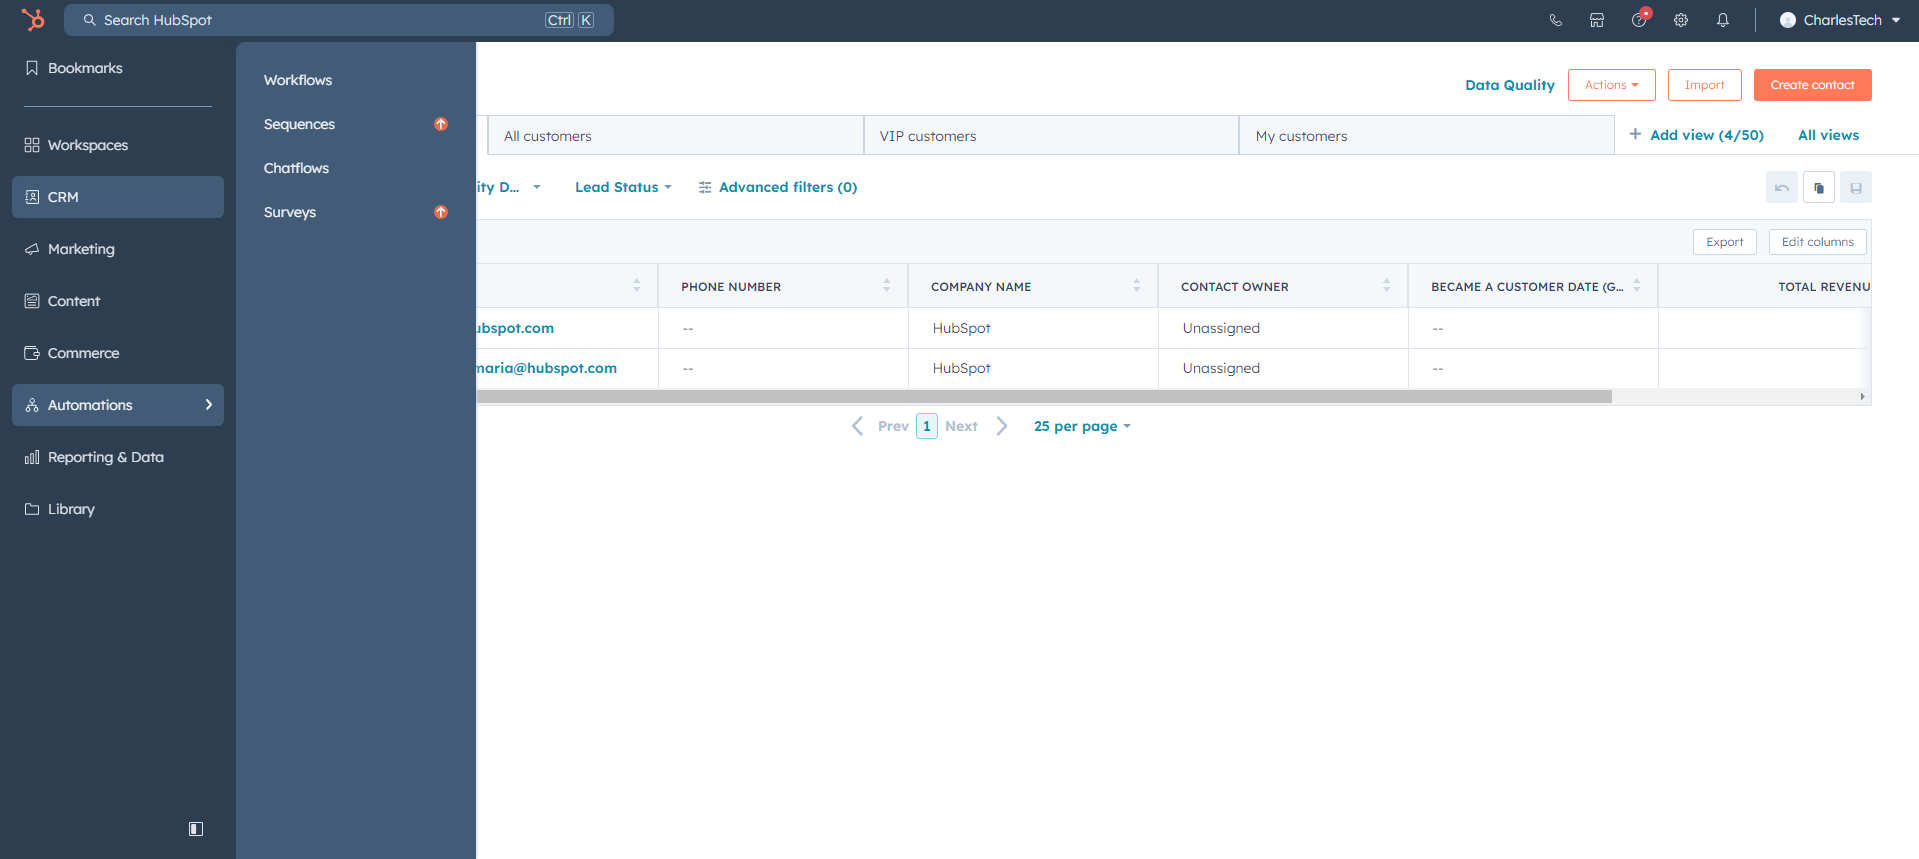
In your HubSpot account, navigate to Automations > Workflows.
-
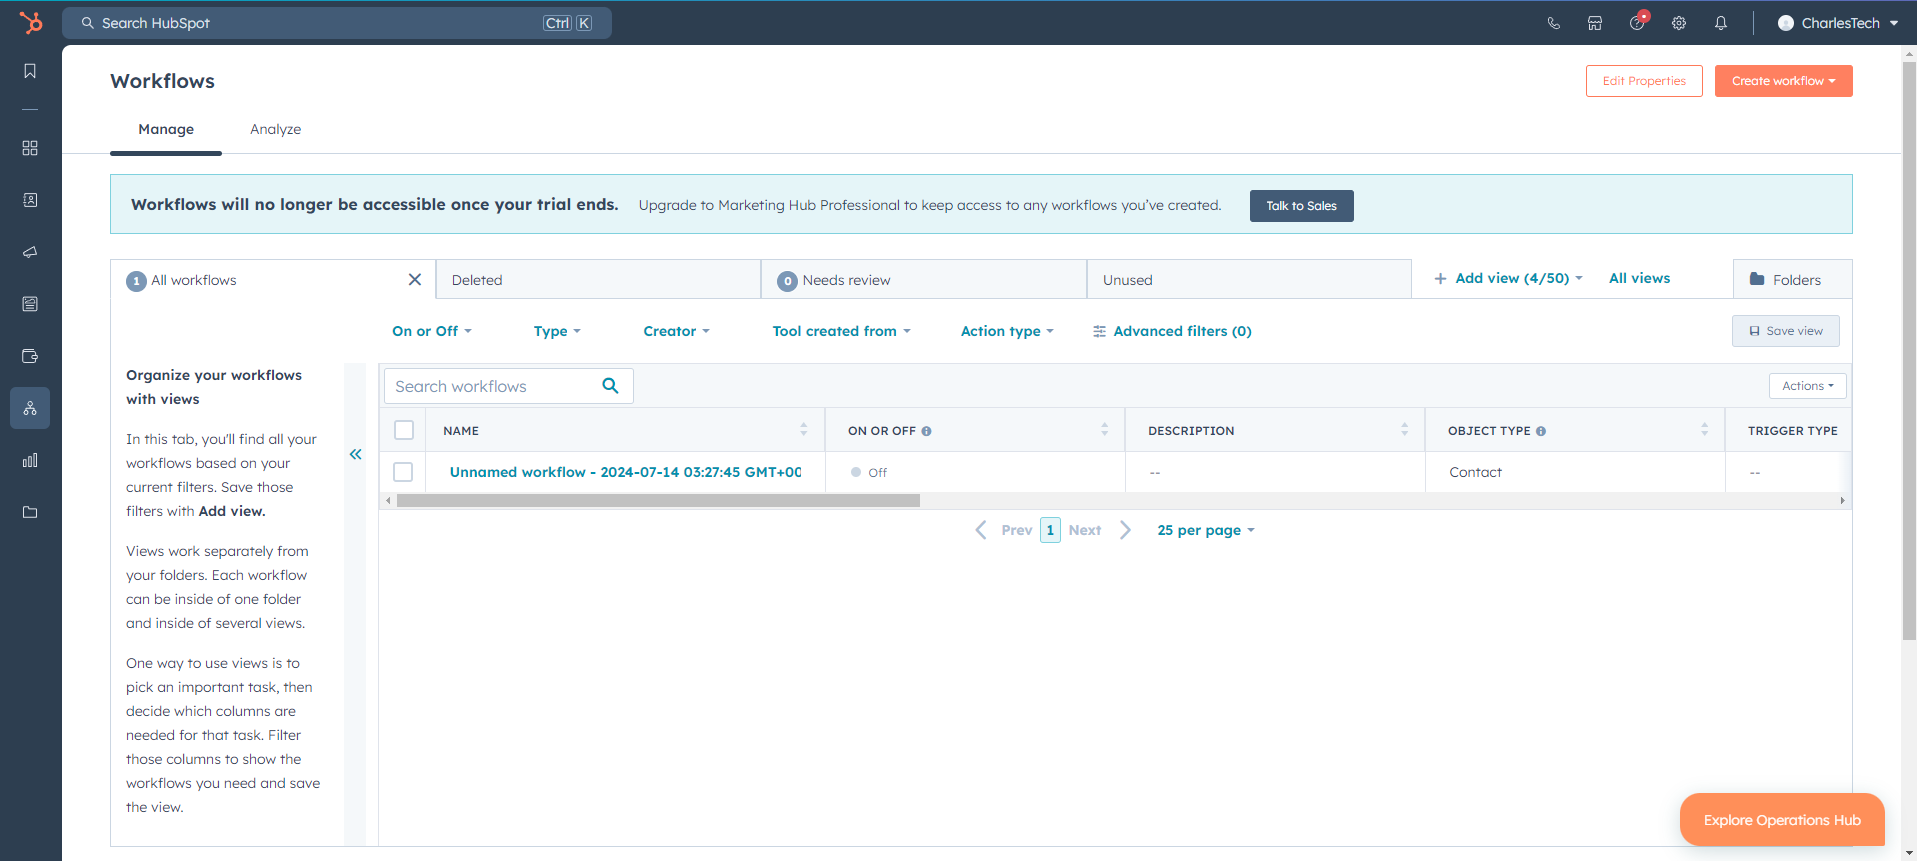
Click “Create workflow” in the top right corner.
-
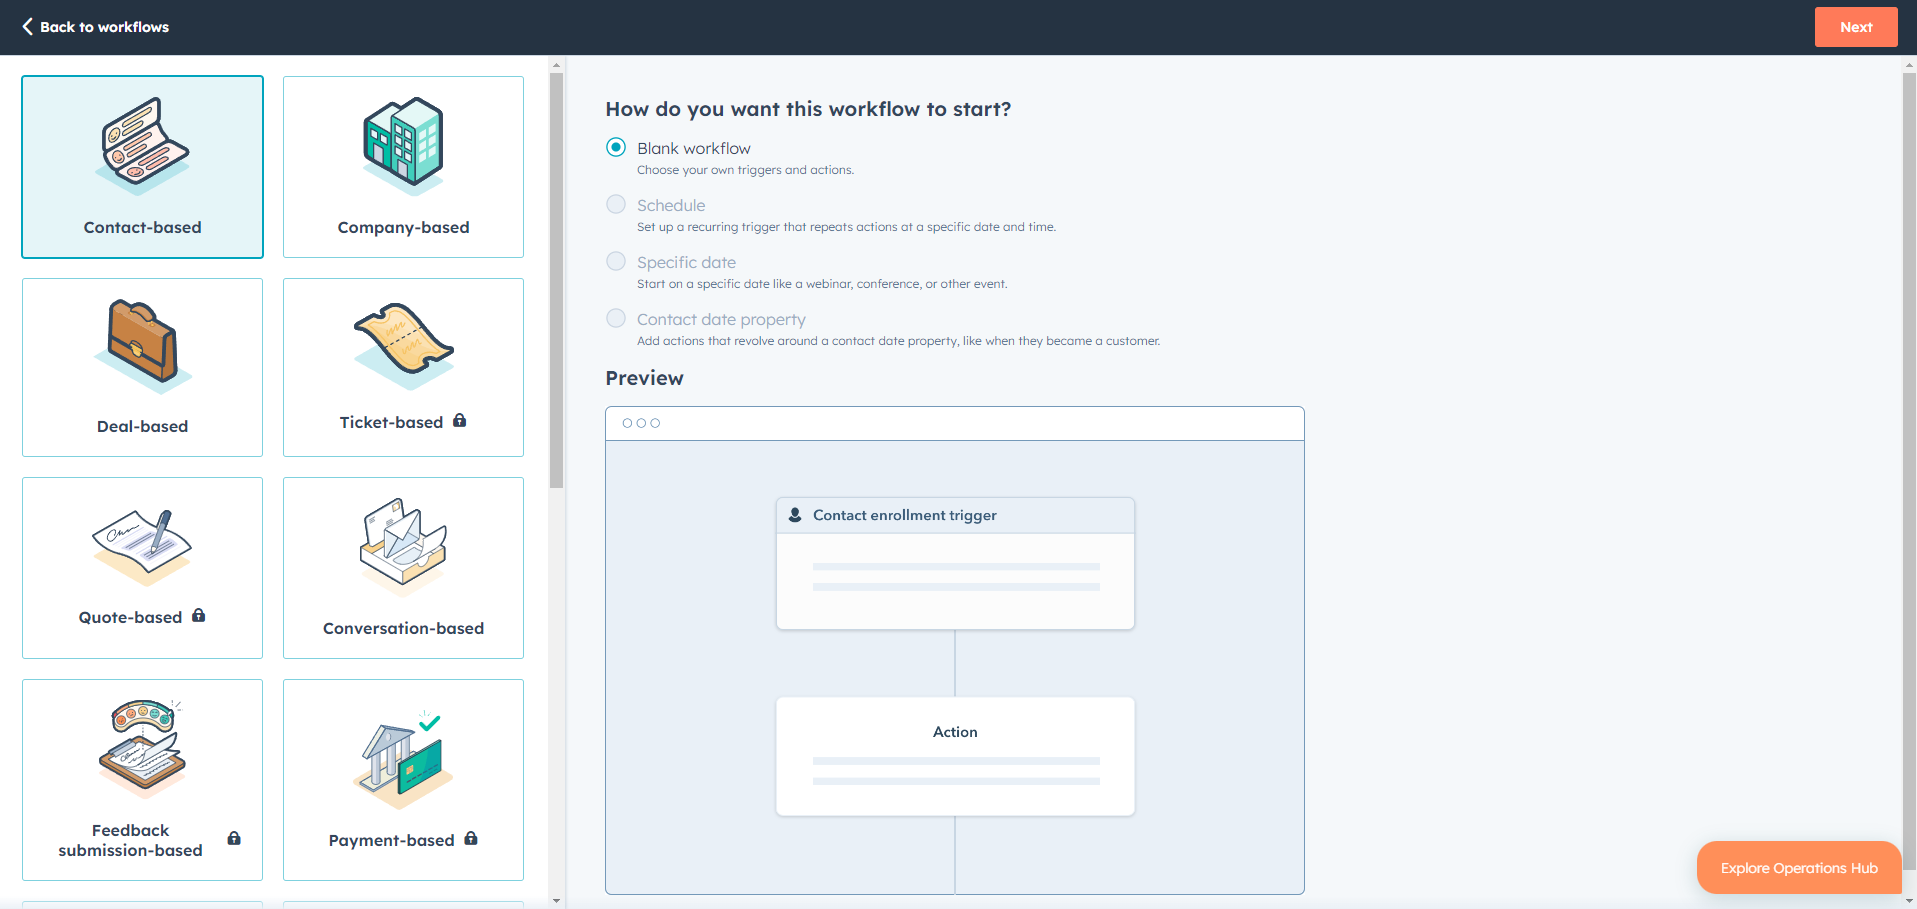
Choose “Contact-based” (or another object type, depending on your goal) and click “Next”.
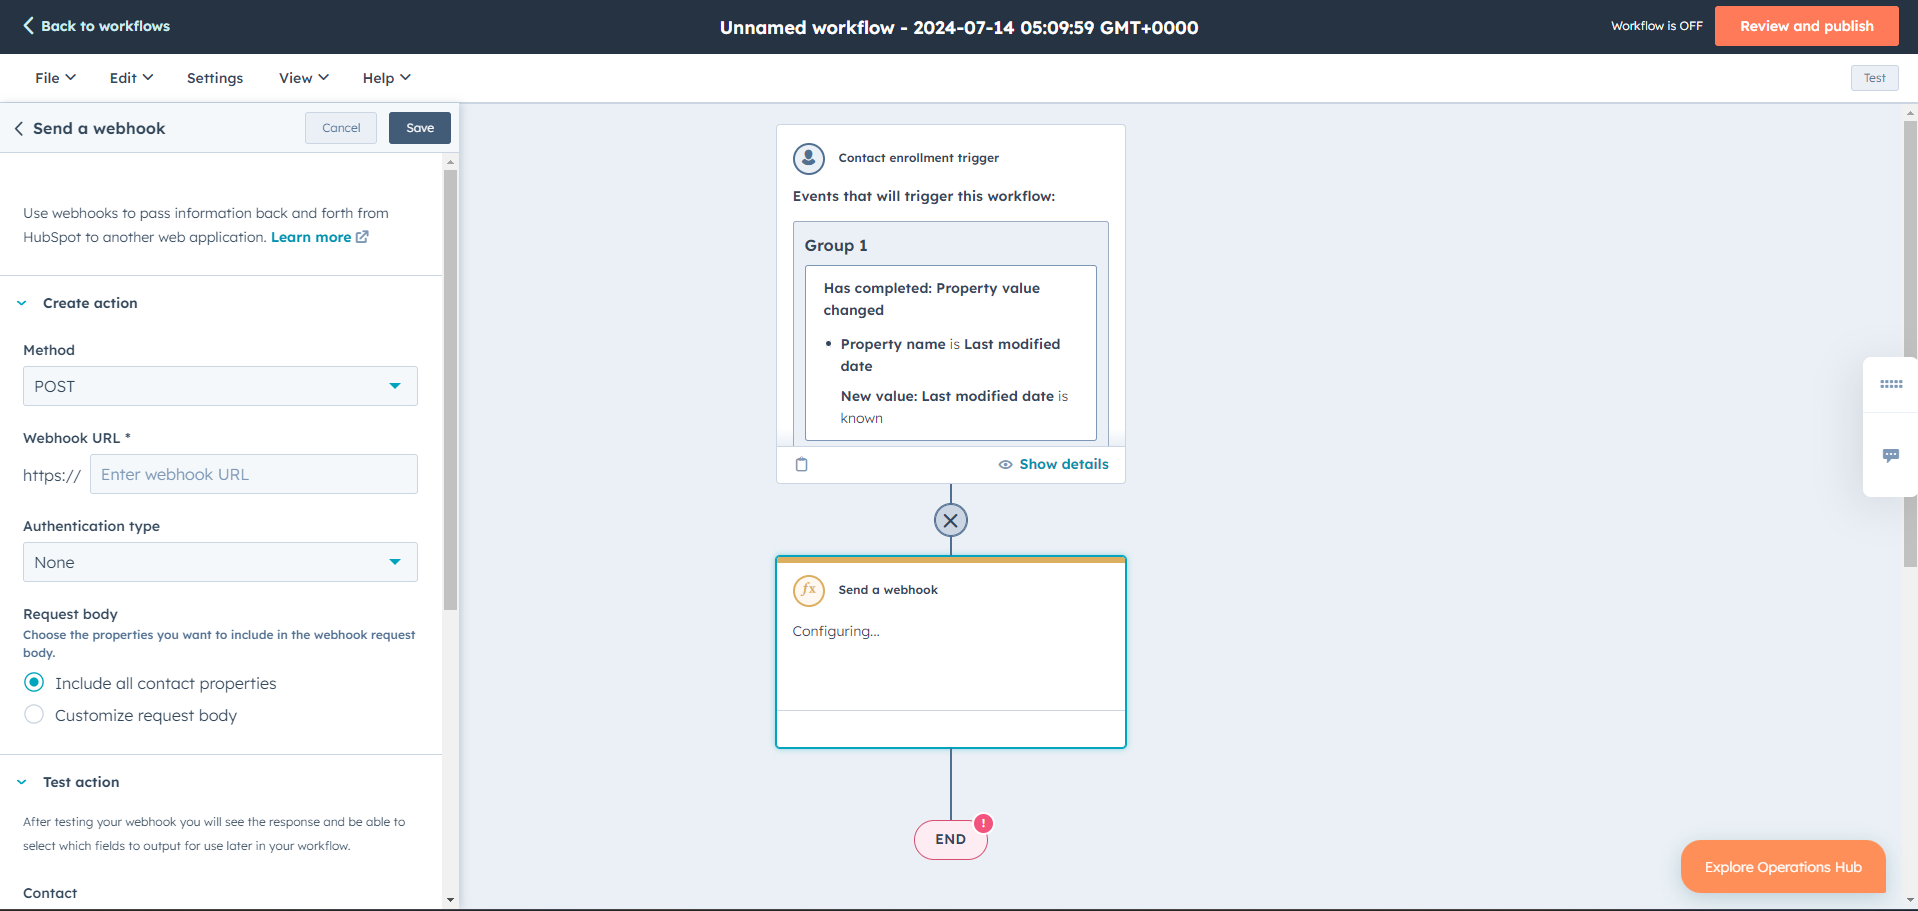
Set up the enrollment trigger that will start your workflow. This is the event that causes HubSpot to send the data.
How to Trigger on Any Contact Update:
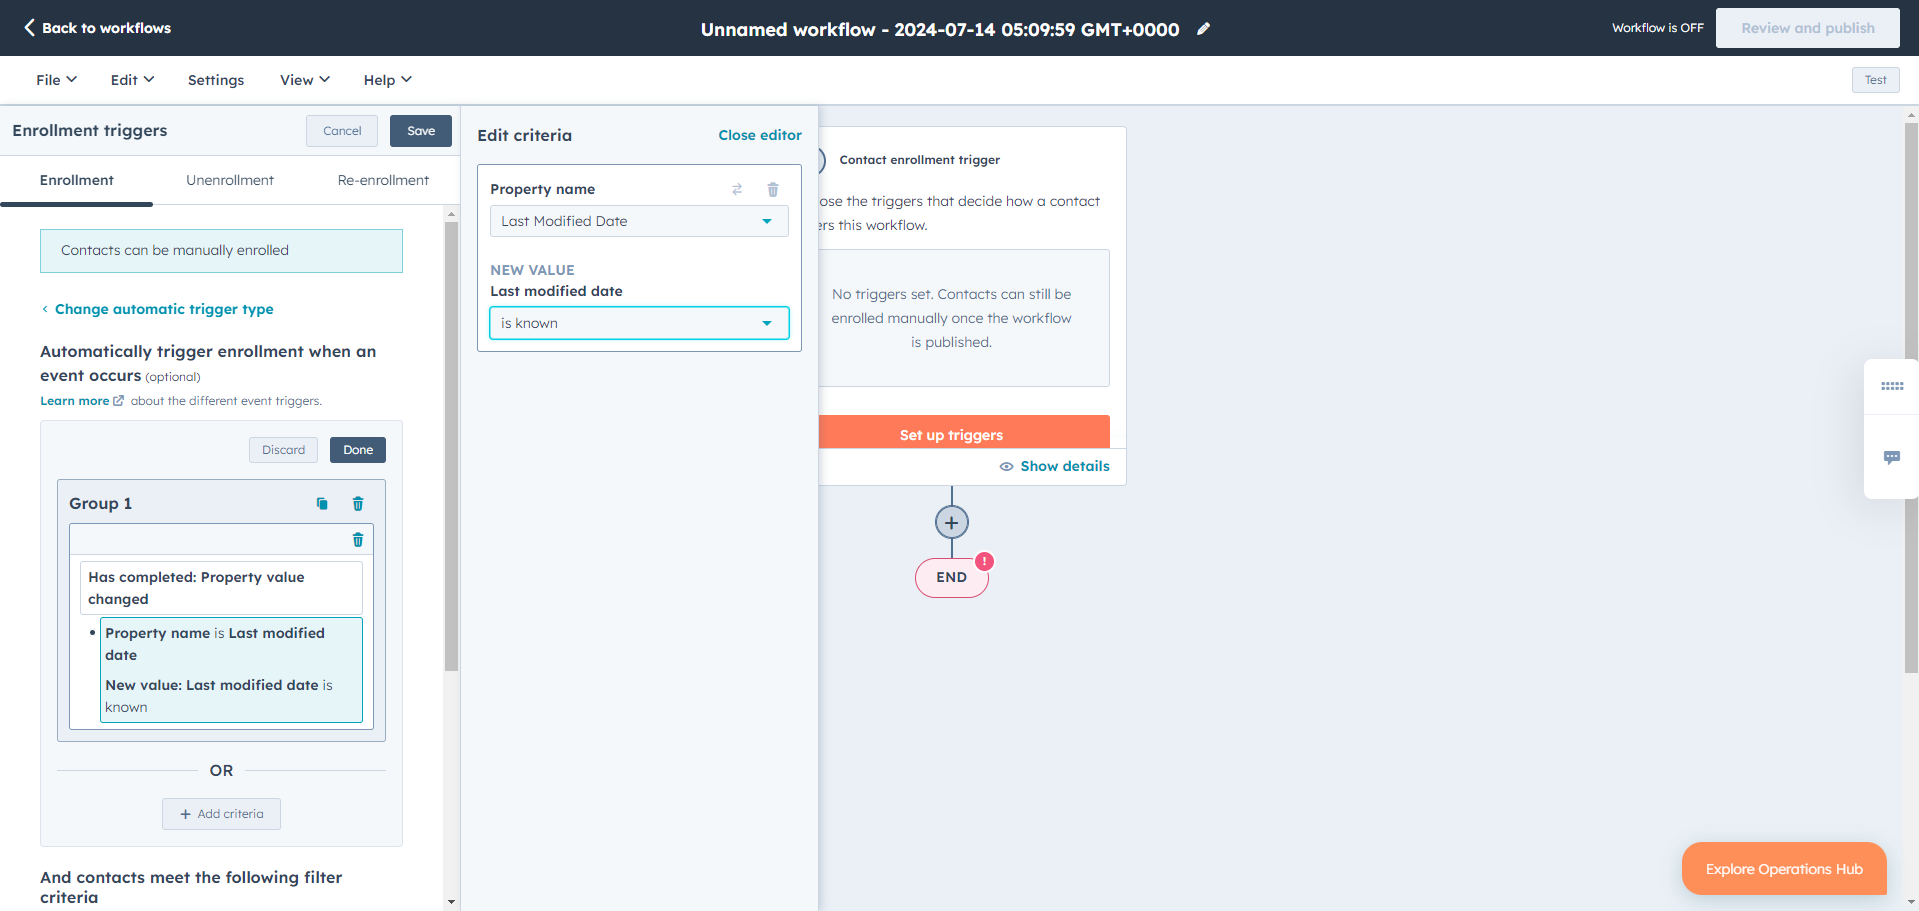
- For the trigger, select “When an event occurs”.
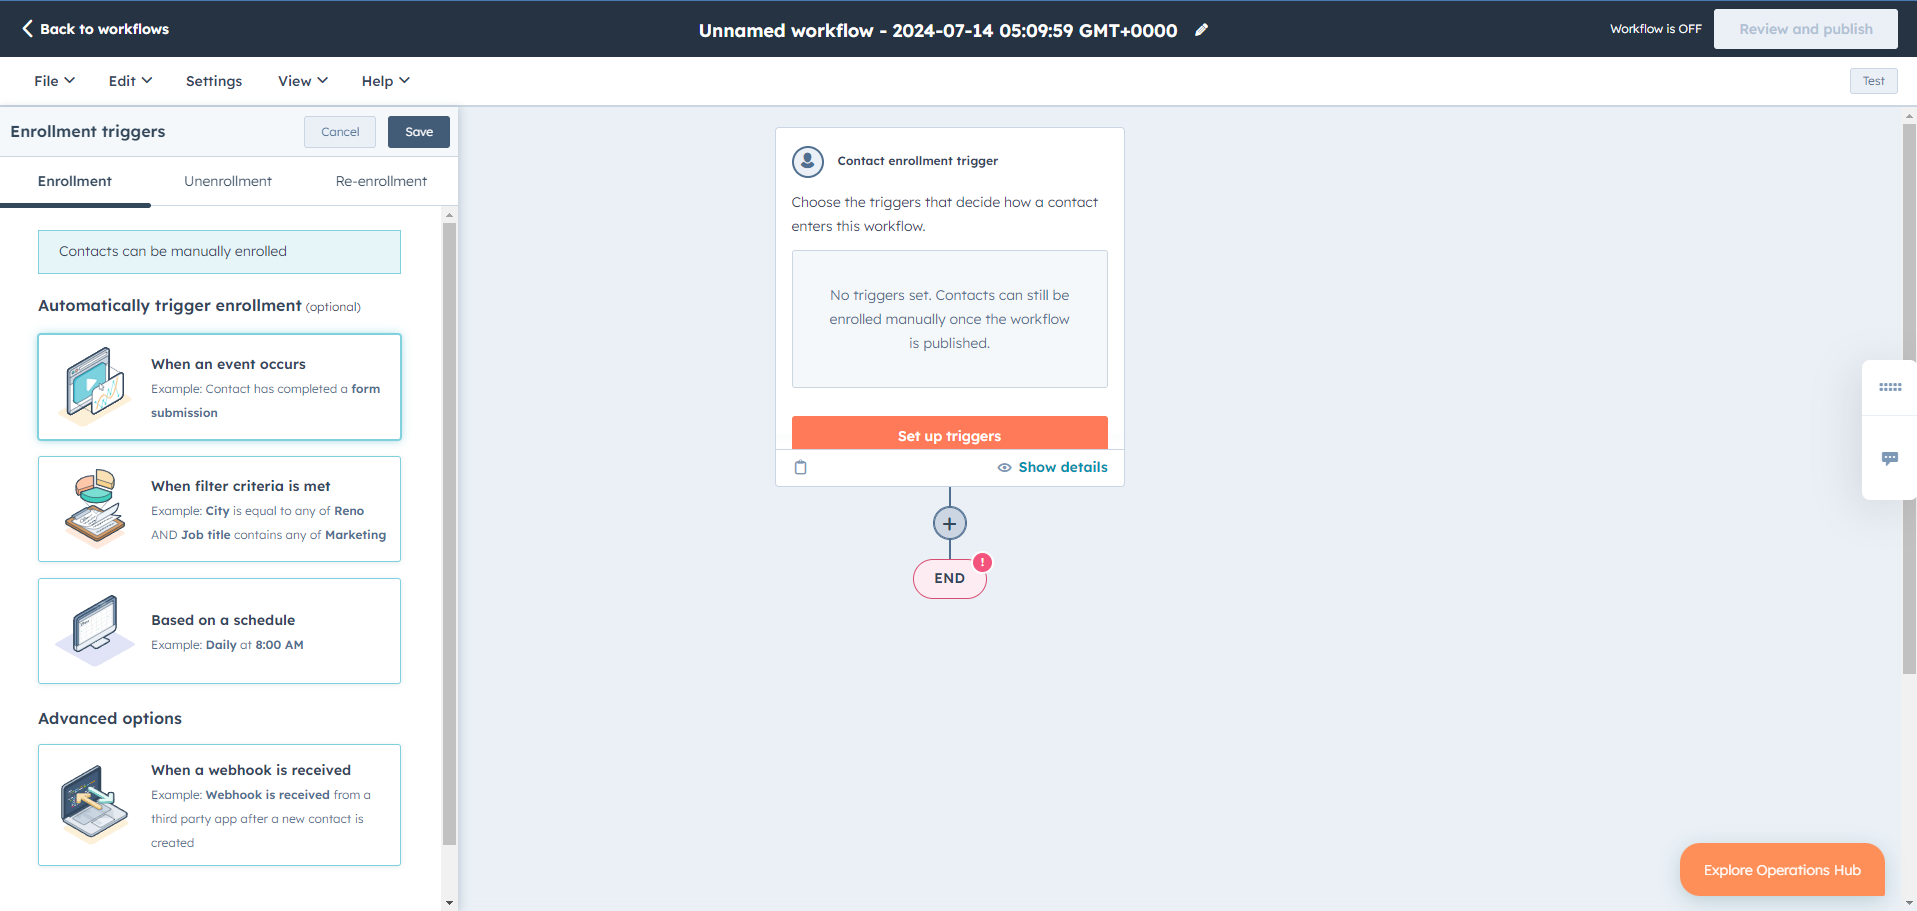
- Under CRM, choose “Property value changed”.
- Set the criteria to “Last Modified Date” “is known”.
This setup works because any change to a contact’s properties will update the “Last Modified Date,” triggering the workflow. Note that “is known” does not fire when a property’s value is cleared. To catch that, you would need to trigger on a specific property and use the criteria “ABC is known OR ABC is unknown.”
- For the trigger, select “When an event occurs”.
-
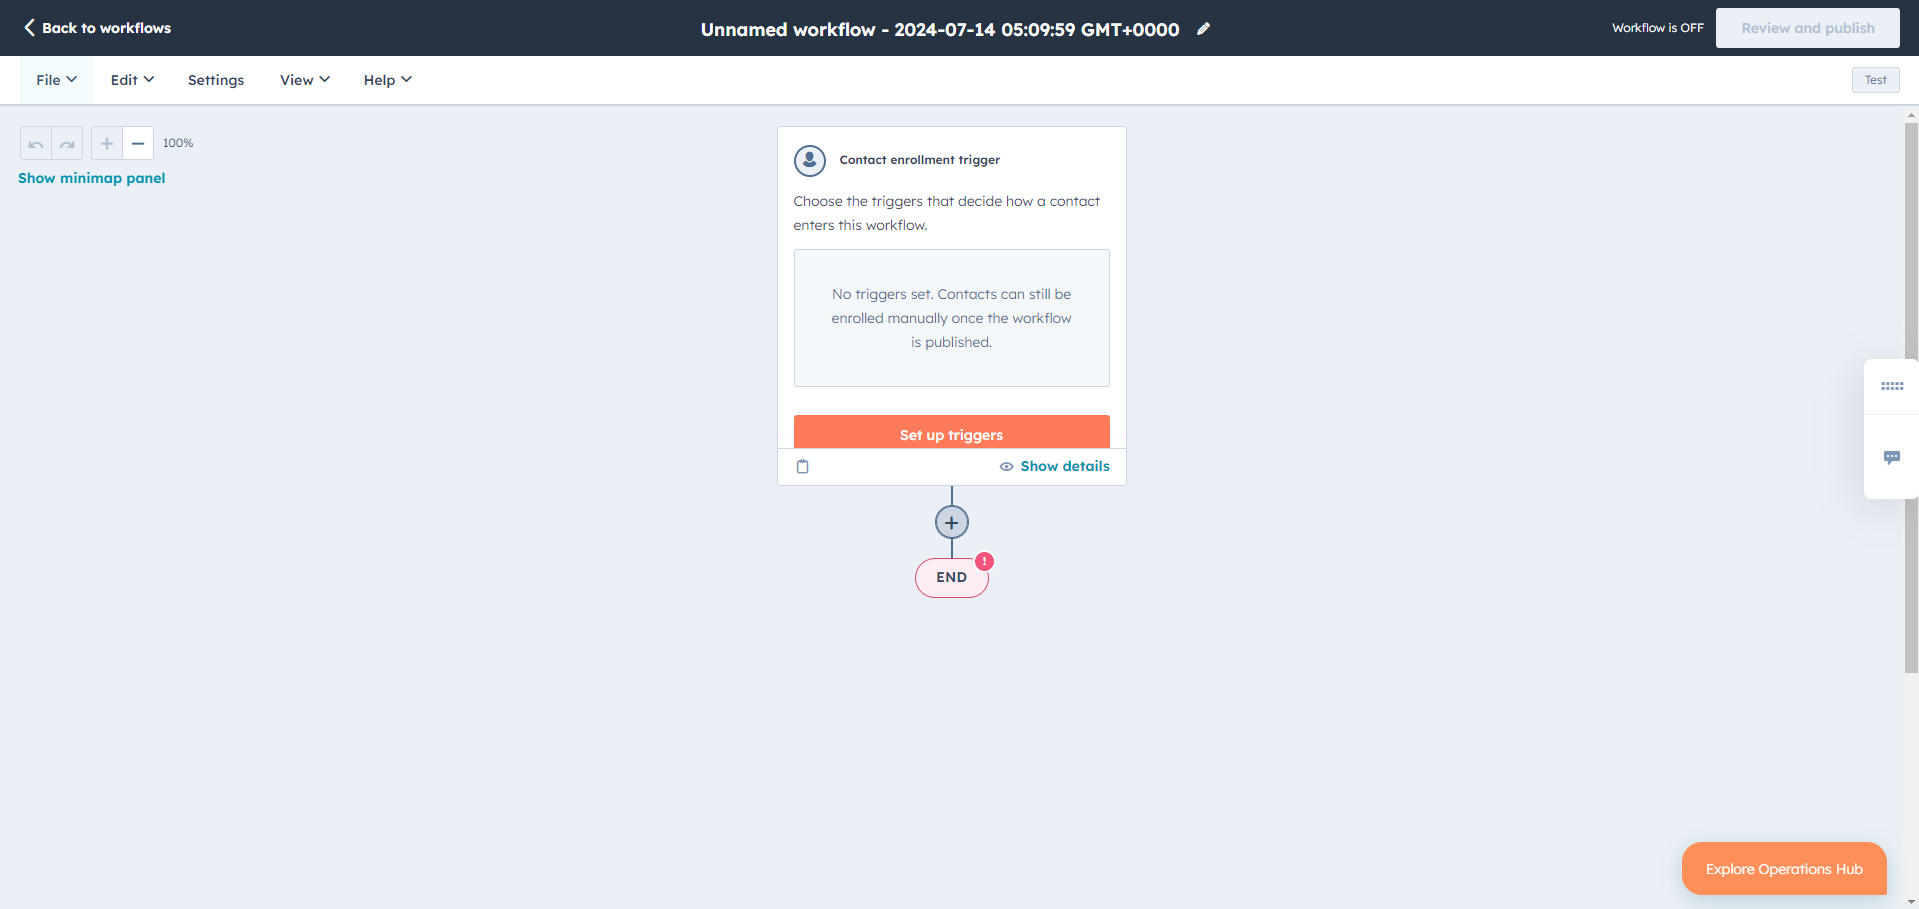
In the workflow editor, click the + plus icon to add an action.
-
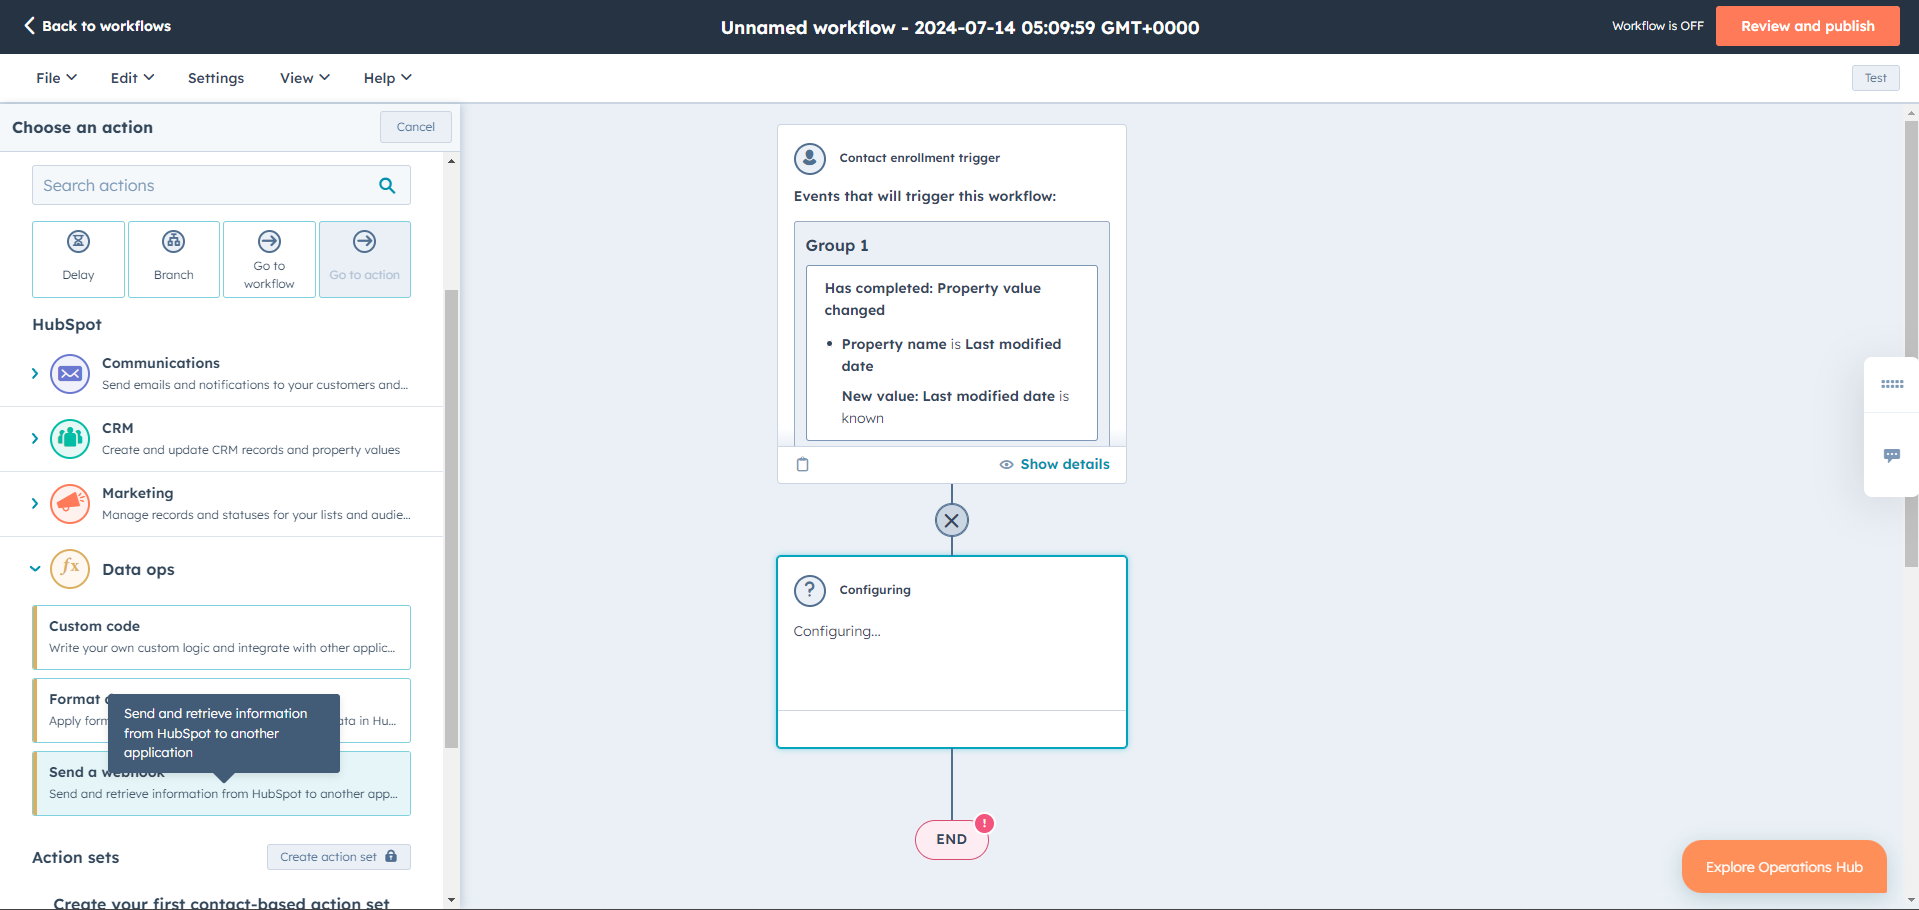
In the right panel, scroll down to the Data ops section and select Send a webhook.
-
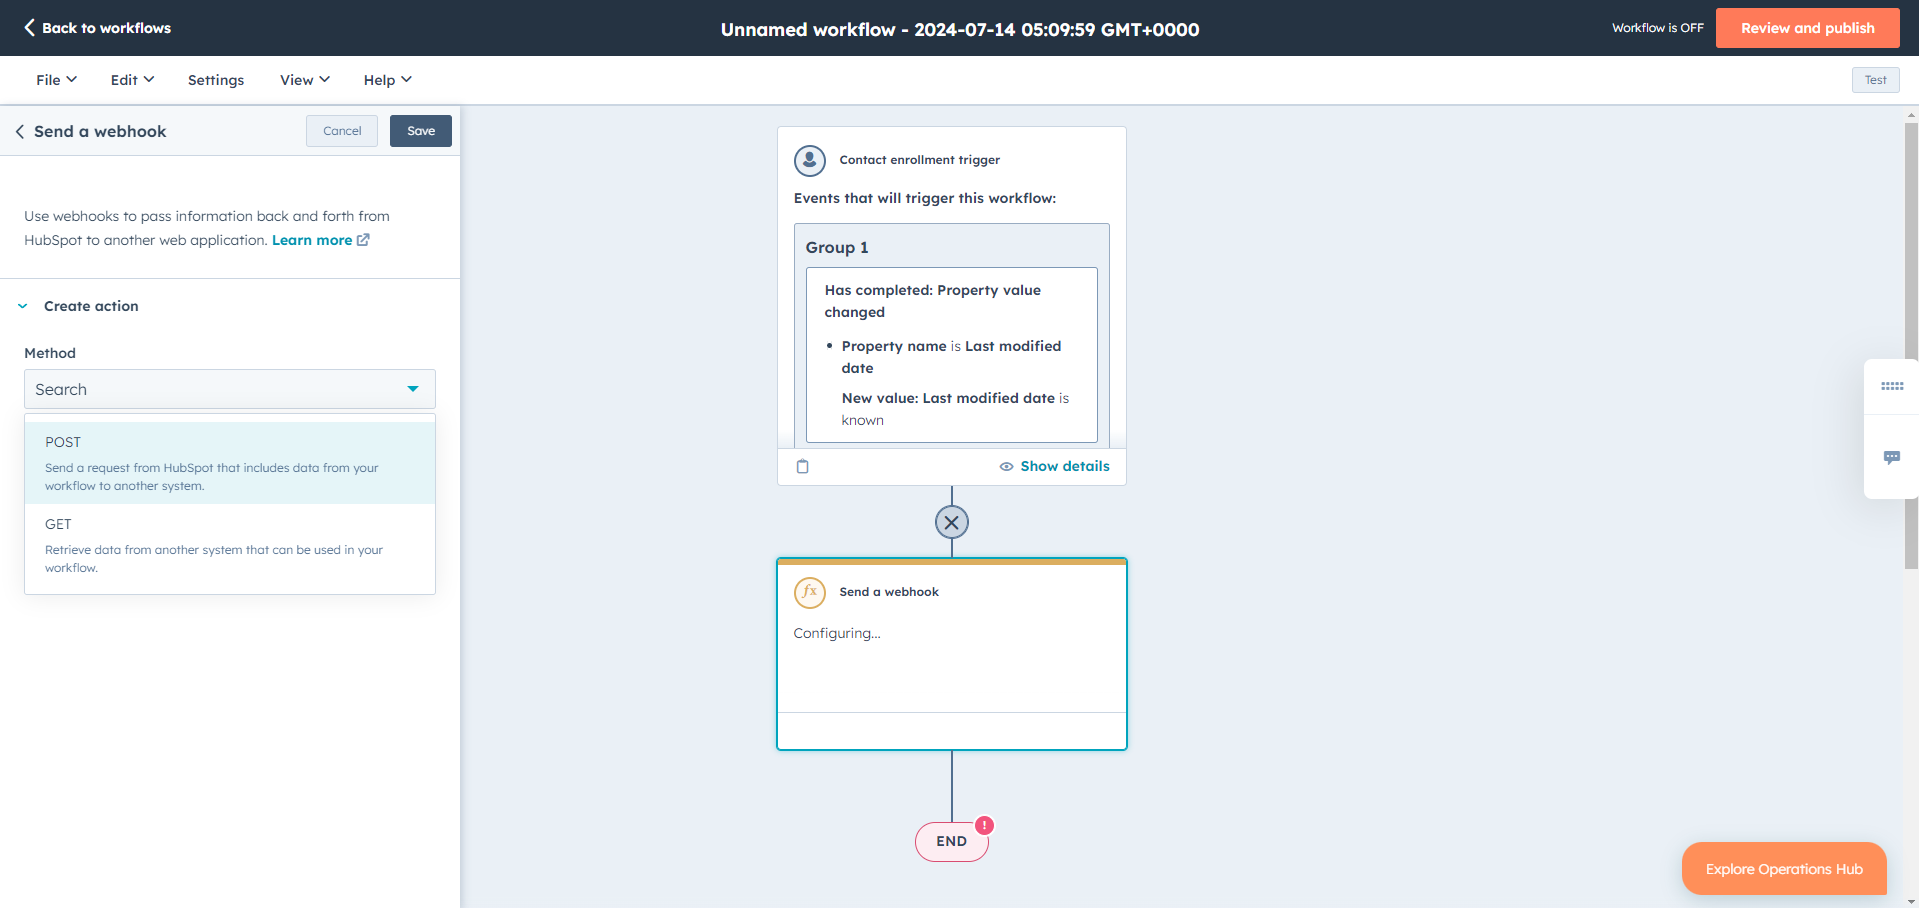
Configure your webhook:
- Method: Select POST.
- Webhook URL: Enter the destination URL. It must begin with
https://.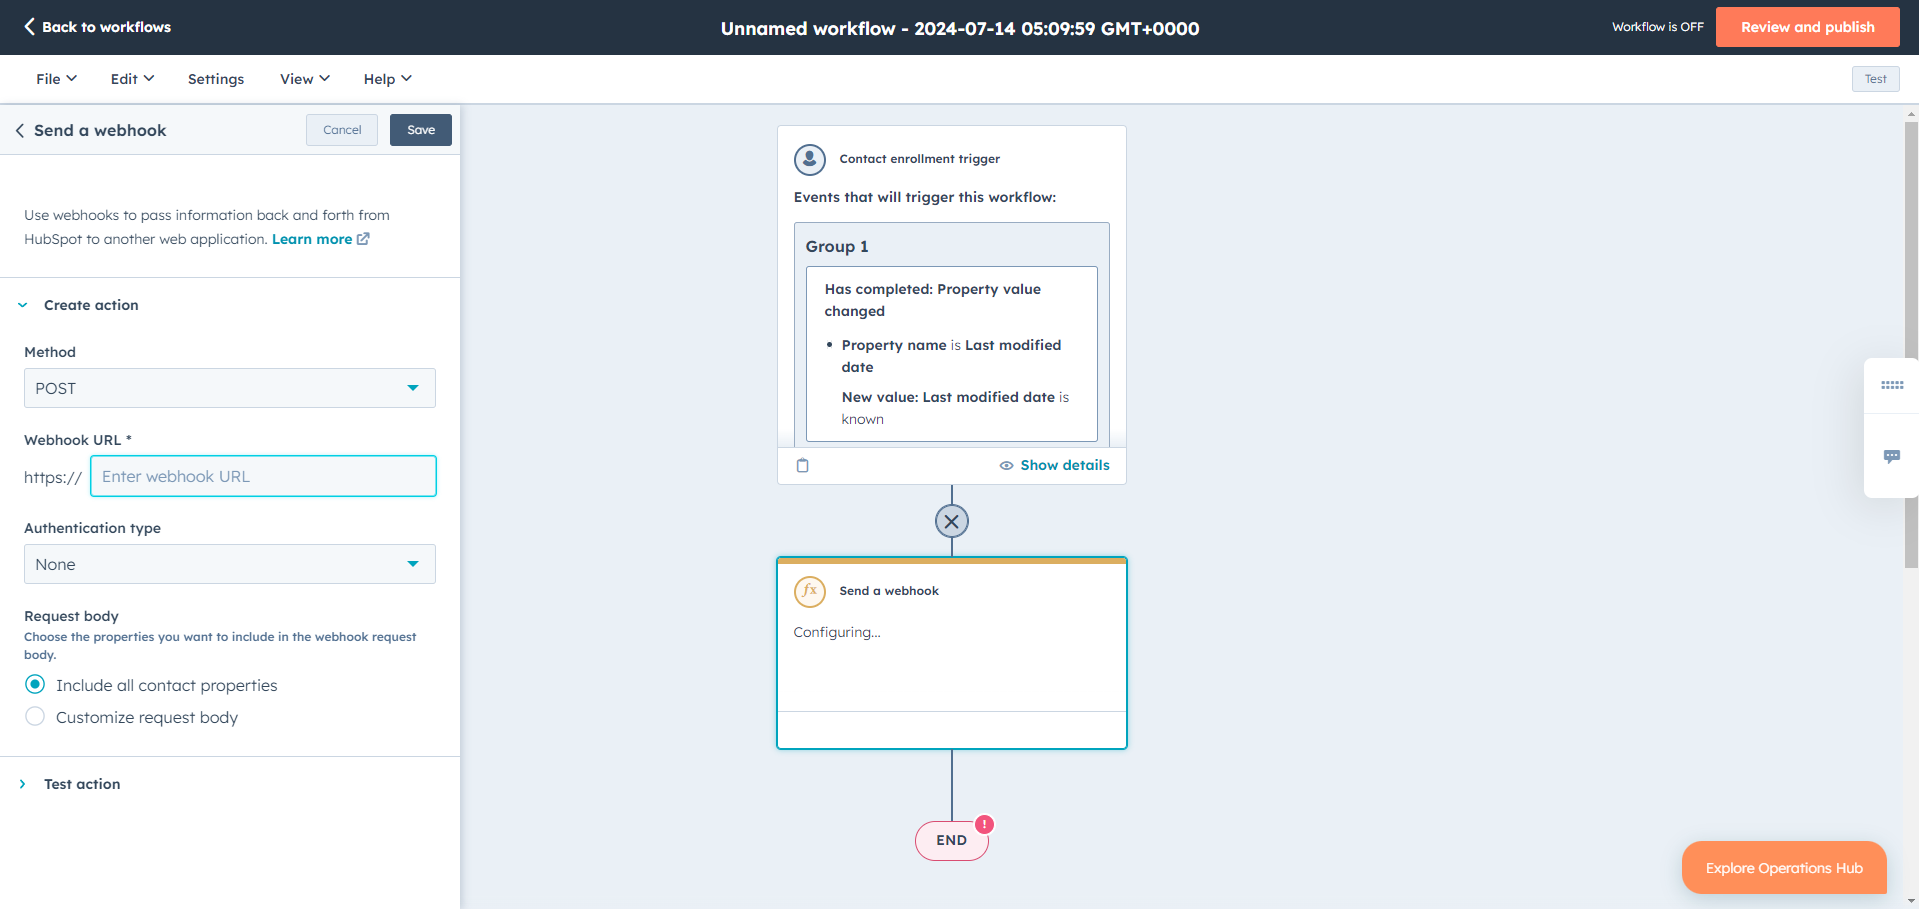
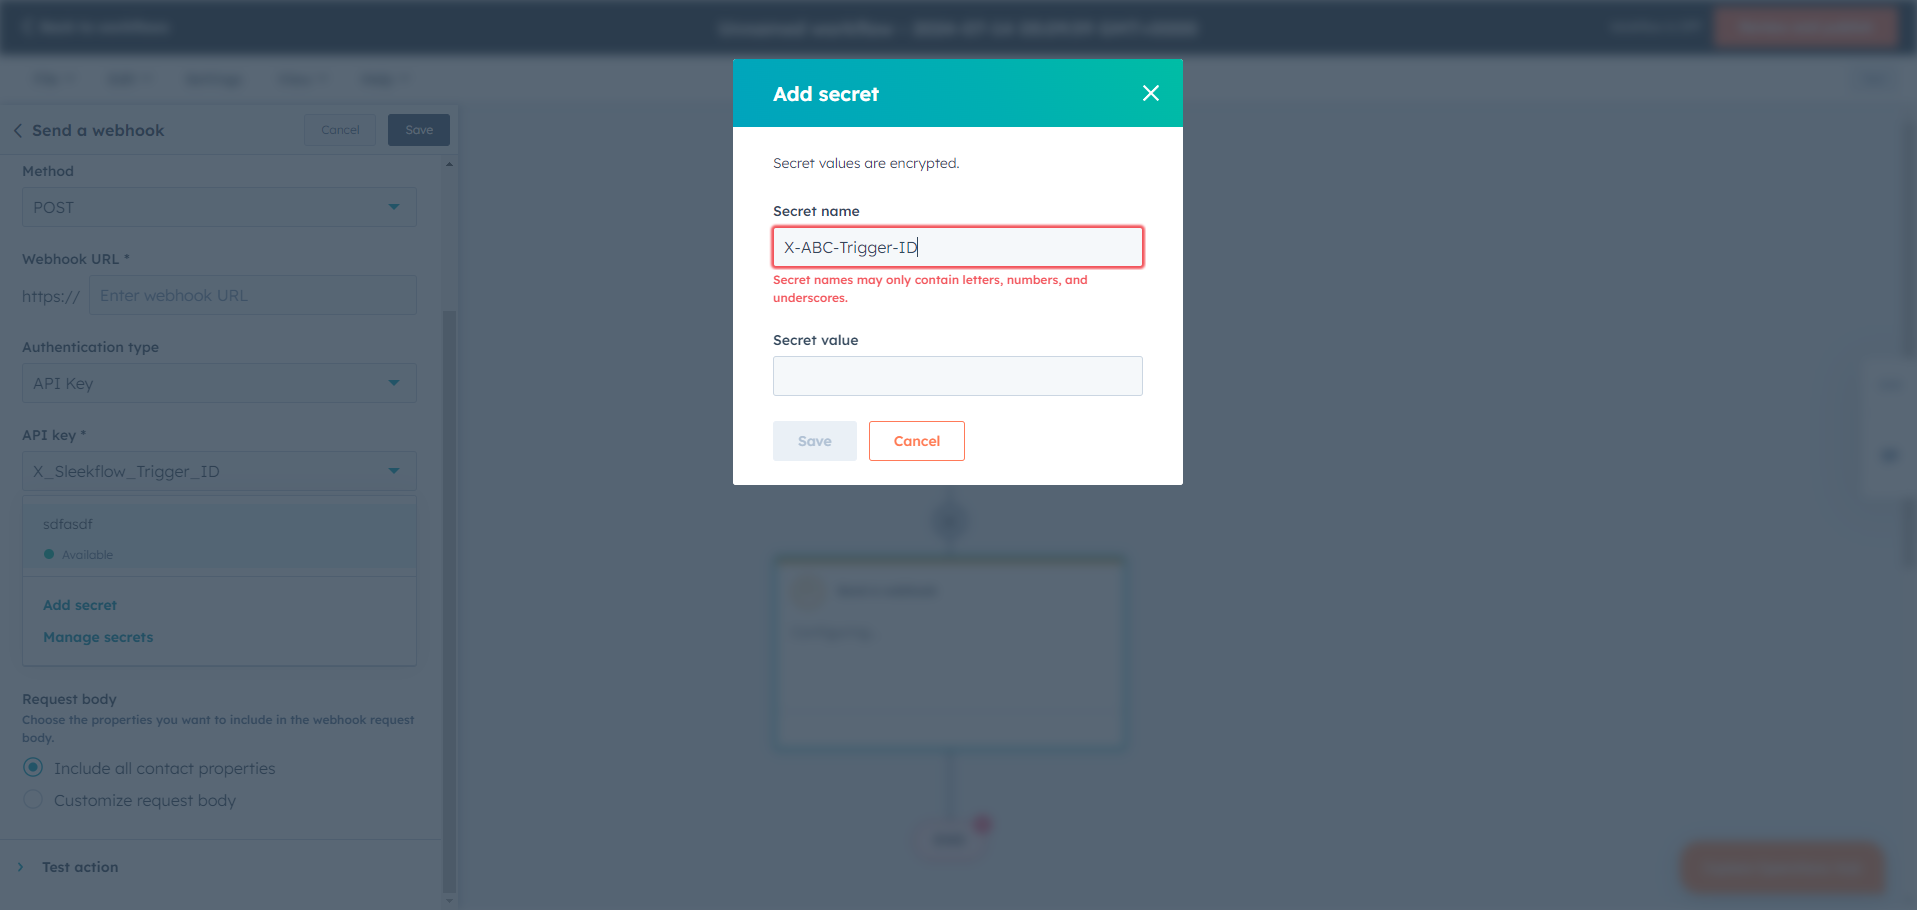
Authentication Limitations: If your webhook requires authentication, you can select API key from the Authentication type dropdown. However, be aware of these limitations:
- You cannot customize the request header. This means you can’t add more than one authorization key.
- If you use a single API key, its name in the header cannot contain a hyphen (-).
- Method: Select POST.
-
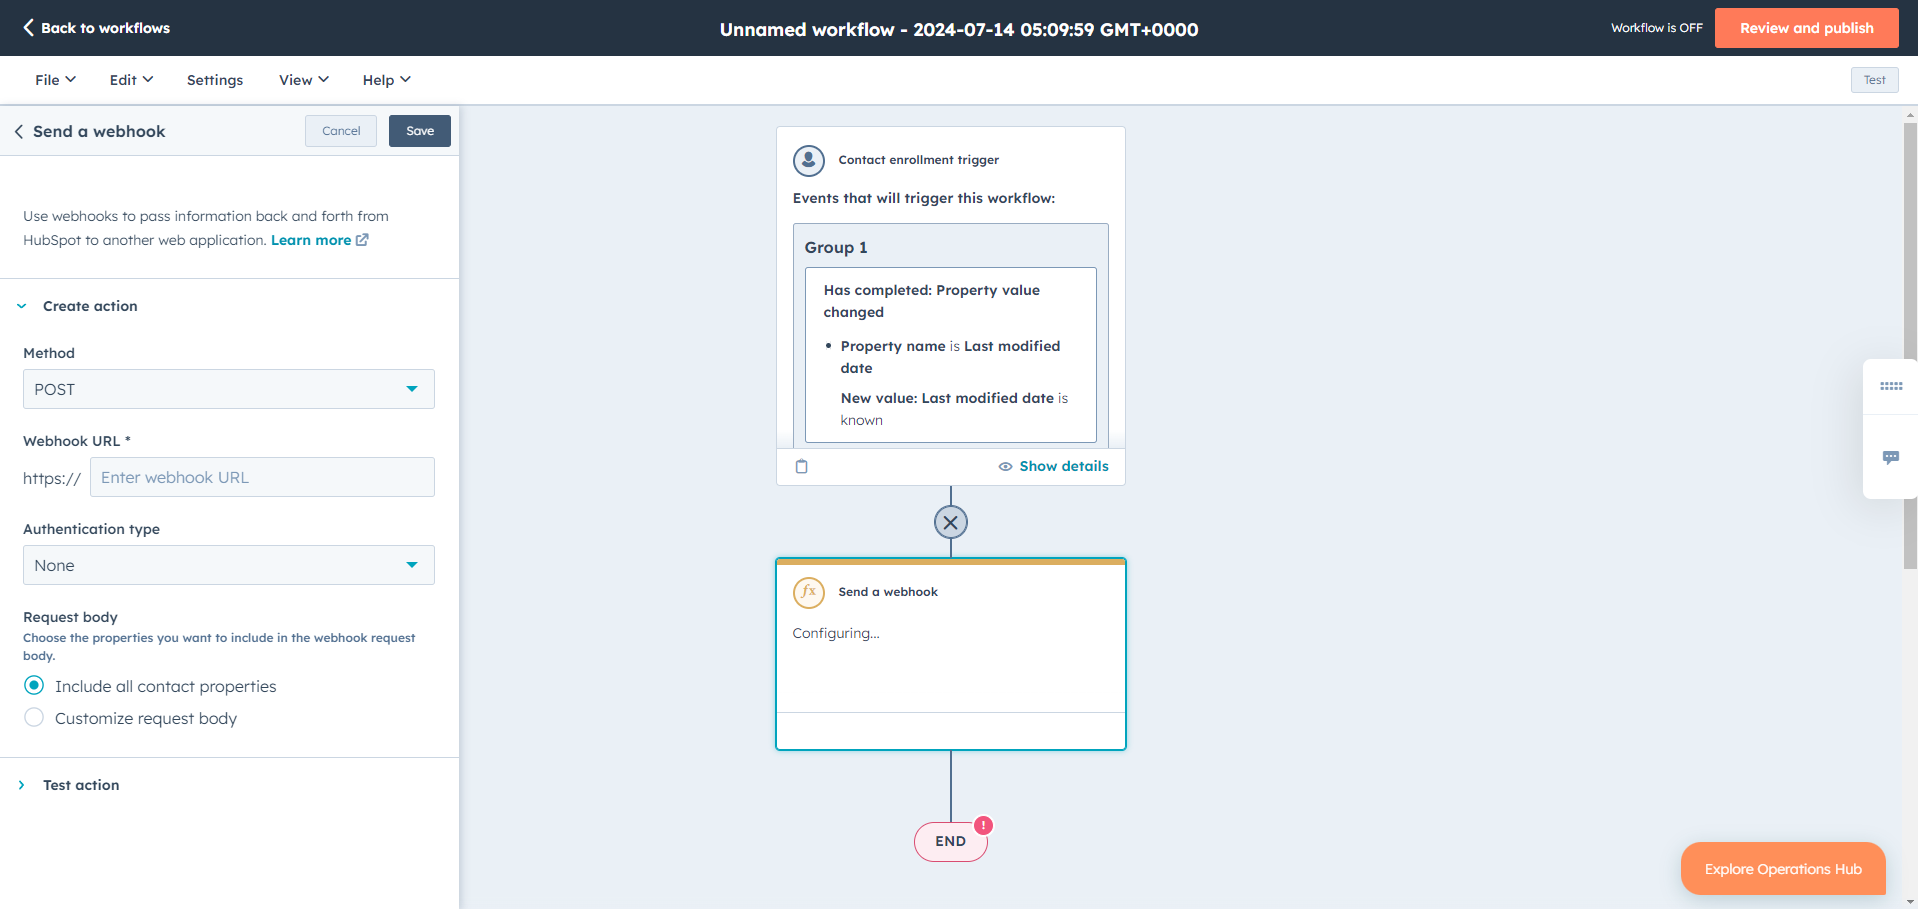
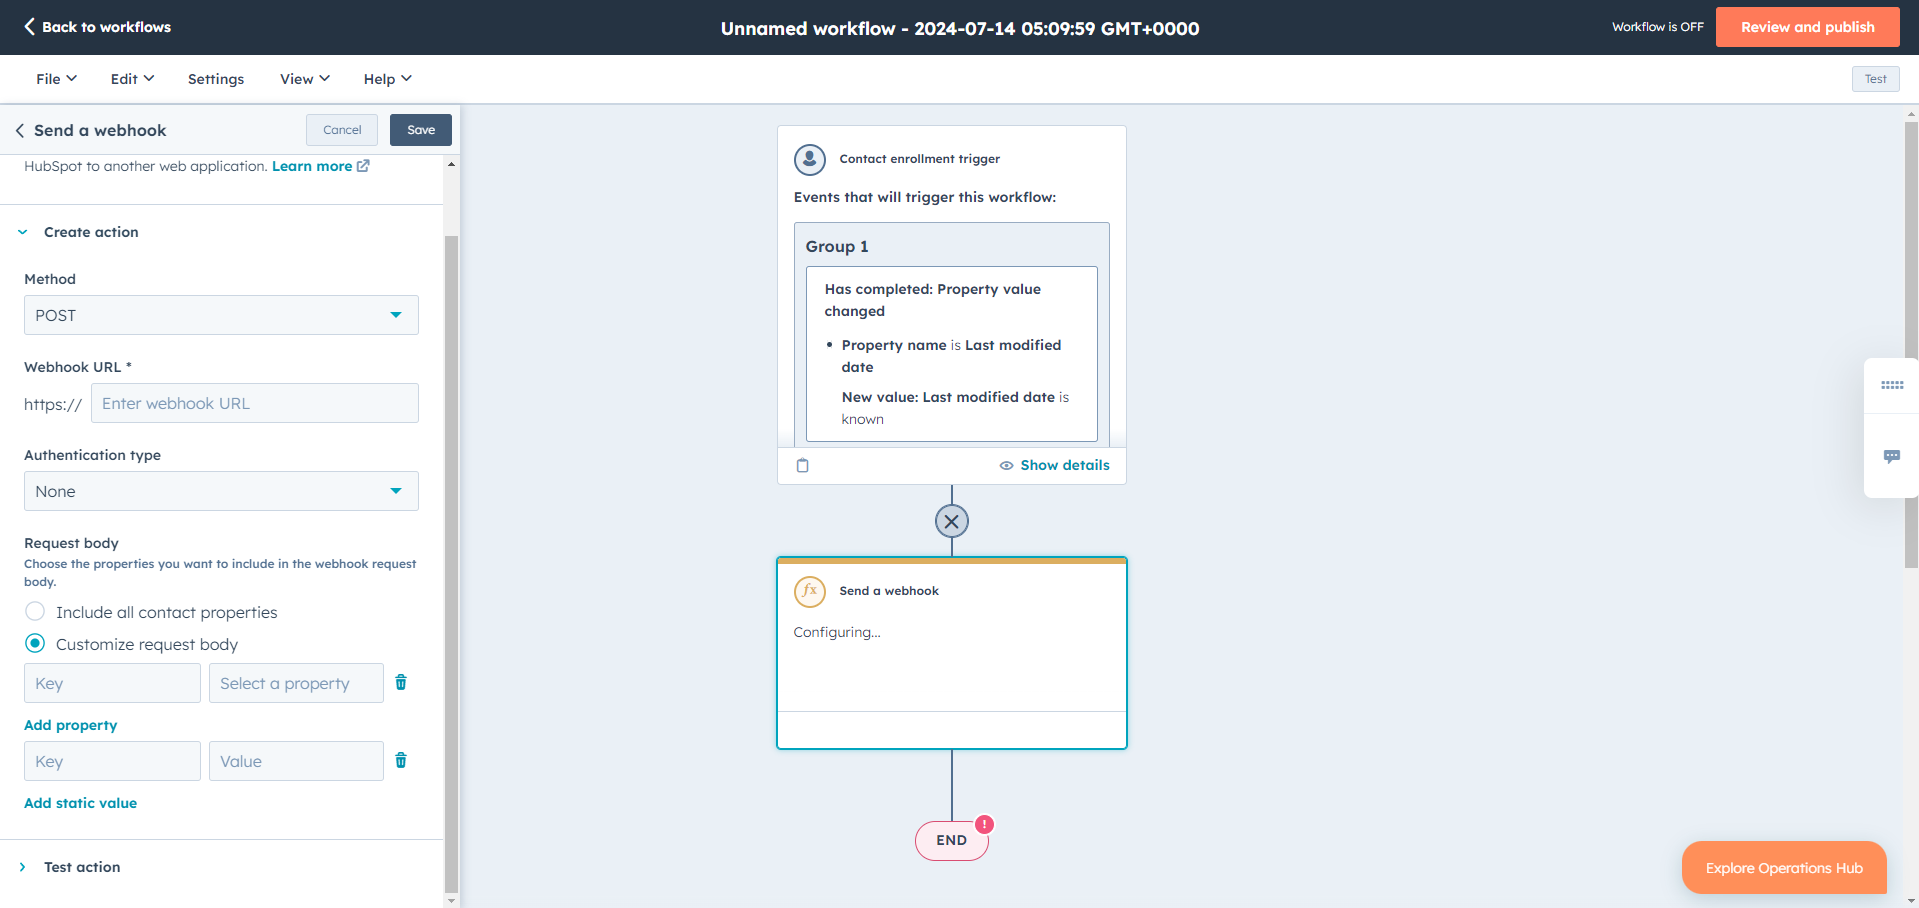
Choose how to structure the data being sent:
- a. To include all properties: Select Include all [object] properties. This sends every piece of data associated with the contact or deal.
- b. To include only specific properties: Select Customize request body. Here, you can define your own Key and map it to a HubSpot Value (property) or add a static value.
- a. To include all properties: Select Include all [object] properties. This sends every piece of data associated with the contact or deal.
-
Click Save. Your webhook action is now configured and ready to be activated within the workflow.
🧪 Testing and Advanced Use Cases
- To test your webhook externally, see HubSpot’s guide here.
- To trigger a HubSpot workflow from an external webhook, see the documentation here.